

What is a Science Lab and How Do I Manage It Effectively?
Teaching middle school science is a lot of fun, and kids get excited when most of them finally get the answer to their question, “What is a science lab?”
As teachers we need to make sure we are managing it so students are safe, engaged, and learning. Oh, and so we are not stressed too.
In This Post
We will go over managing a science lab from start to finish. We’ll begin with planning, preparing, setting up, and actually conducting the lab. Next we’ll follow the Scientific Method to conduct the lab. We’ll also go over consequences if students do not follow a rule.
Be sure to get your free guide 7 Daily Must-Do Routines to Run Your Science Classroom Like a Pro today!
What is a Science Lab and How Do I Prepare For It?
A science lab is a place where labs or experiments are conducted. It is also another way to say science experiment. In a middle school science classroom or lab, the students get very excited for a science lab (or experiment).
Planning for a Science Lab
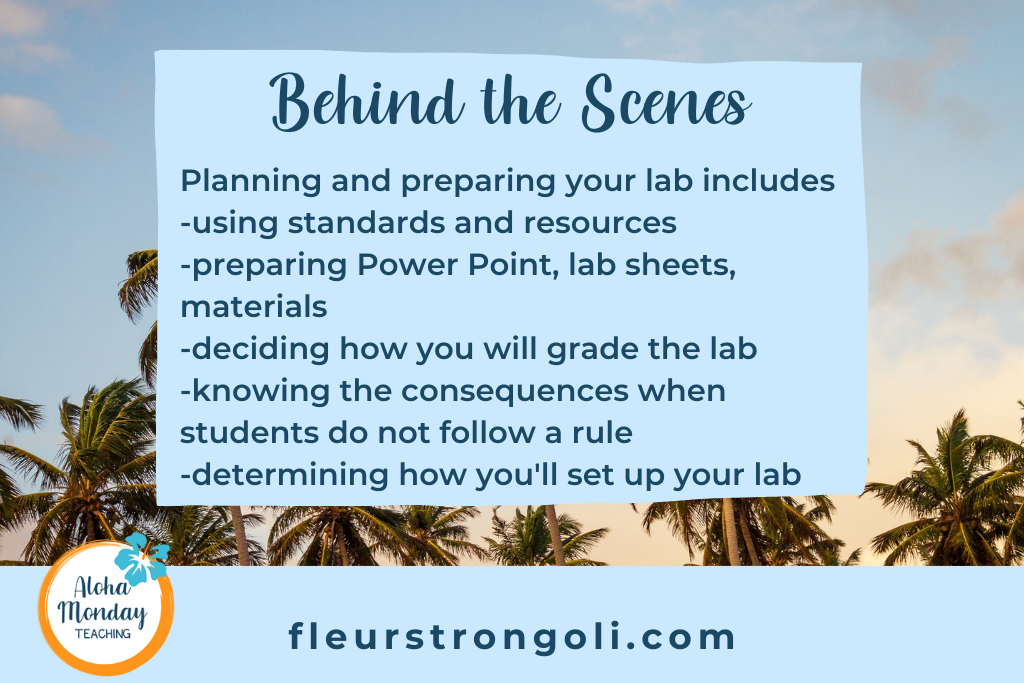
Just like with any lesson plan, you need to start with your standards. Your lab should support your students’ progression to mastering the standard. Use your adopted resources or supplemental materials for labs and lab ideas.
For more on setting expectations and lab procedures, visit this blog post. For more on lesson planning, read this blog post.
Preparing your Science Lab
Once you have your science lab planned, it’s time to prepare it. These are your details for the lab. I like to have a Power Point that I project for students. I give students a lab sheet. You can also have students use their science notebooks to record their lab.
Grading
Decide on how you will grade the lab when your students are done. You might use a rubric or simply grade each part of their lab sheet. I have graded both ways, but for me, I like to grade each part of their lab. For example, their hypothesis is worth 3 points. They must include “if, then, because”. Their data is worth at least 4 points. I look for sketches and details. And their conclusion questions are worth 2-3 points each, and they have to write using complete sentences. Our team grades labs as an assessment grade.
Gather Materials
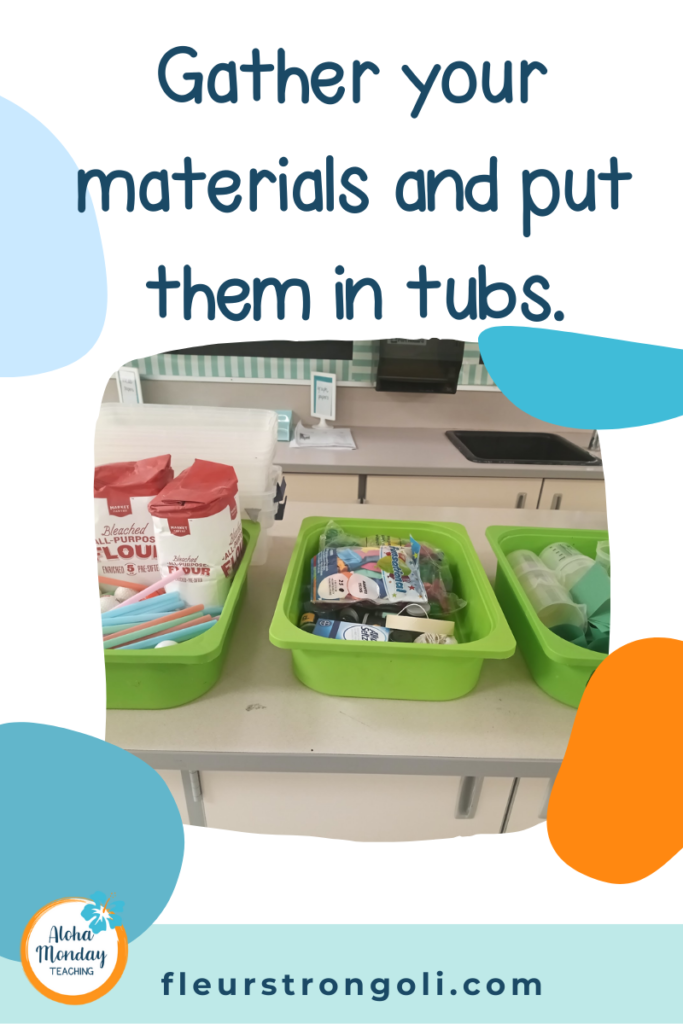
Next, you need to gather your materials. I like to put everything in a designated area to begin with. I put the materials I am using in these IKEA Trofast tubs. Once you have your materials gathered, I highly suggest that you complete the lab yourself first That way, you can troubleshoot when things don’t go as planned.
Expectations and Consequences
The last thing to prepare for is what to do if students do not follow the safety rules. When reviewing your rules with students, you can use that as their warning. So if they don’t follow a rule, they have an immediate consequence. Or, you can issue a warning if a rule is not followed. It’s up to you. But, have a consequence ready because you will have at least one student who may not follow a rule. Here are a few ideas for small infractions. You can have them sit out, complete a reflection sheet, and return with permission. You can have them sit out and finish the lab at their seats. Or you can give them an alternative assignment at their seats. For my frequent fliers, I have done a demo for them, and let the rest of the class complete the lab with their groups. That usually helps them realize that they want to follow the rules so they can join their group for the next lab.
Setting up your Science Lab
Now that you are prepared and your materials are out, it’s time to set up for lab day. Most of the time, I have students set up the lab themselves. I have my first class do this, and then leave it set up for the rest of the day. Other times I will have the materials at the stations. It depends on the lab and materials involved.
I have all of the materials set out on a big lab table. One student from each group comes up to the table forming a line. They take a tray and work their way down the table to get the materials they need. Then they bring it to their group and set it up at their lab stations.
Sometimes I will have the materials already set up for them. If you do this, be sure to have it set up the day before (do this right after school so you can still leave on time), or first thing in the morning. I like to have it ready the day before so I’m not stressed out.
Depending on the lab and what materials need replenishing, I will have students either leave the materials at the lab station or bring it back to my designated area for the next class.
It’s Lab Day! Science Lab Procedures
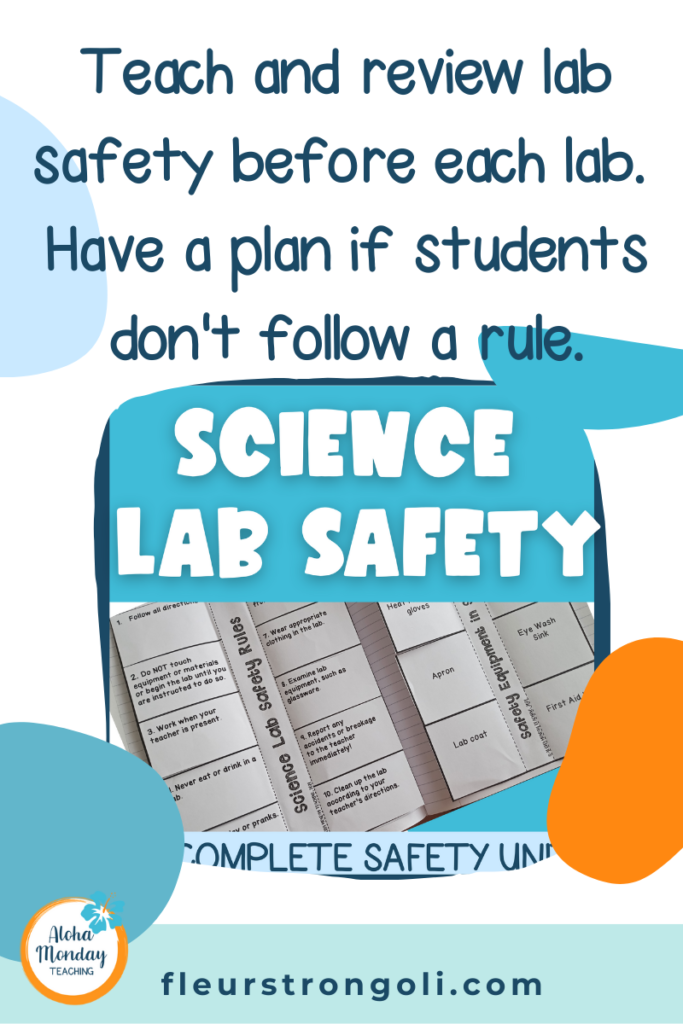
Now you are ready for lab day. Your students will be very excited when they enter the classroom. It’s important that they follow lab safety procedures. Teach the lab safety rules at the beginning of the year and review throughout the school year. Use this Lab Safety Unit to teach ten Science lab safety rules.
Science Lab Safety Procedures
Always review the lab safety rules with students before each lab. You can go over every rule, or highlight the most important ones that your students must follow. I always remind them to follow directions, no horseplay, no eating and drinking in the lab, and report breakage, spills, or injuries to the teacher. Those seem to sum up everything, especially if they are following directions. Remember, if a student does not follow a rule, there should be a consequence.
Lab Procedures for Each Part of the Scientific Method
Pass out the student lab sheet or make sure they have their notebooks or papers ready to write their lab report.
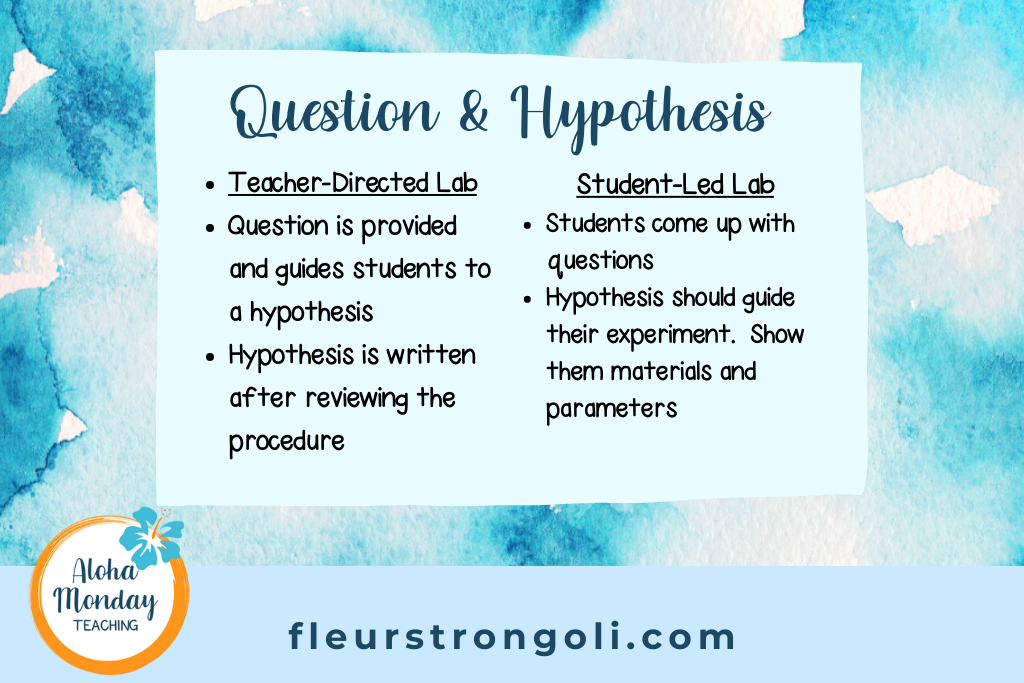
Question
Questions are the basis of scientific thinking. For a teacher-directed lab, the question(s) for the lab will be predetermined. With your students, review the question that their lab will answer.
In a student-led lab, the students will come up with questions that will lead to an experiment. You will want to guide them in this process.
Hypothesis
The hypothesis summarizes what the experiment is and what a possible outcome will be. Students write an “If, then, because” statement. For example, “If I pour vinegar into a dish of baking soda, then the baking soda and vinegar will mix and react because vinegar and water is used to make a volcano experiment.”
“If _____ “ should summarize the procedure (If I pour vinegar into a dish of baking soda).
“Then _____” should be the student’s prediction. (then the baking soda and vinegar will mix and react).
“Because ____” is the student’s reasoning and explanation of why their prediction will happen (because vinegar and water is used to make a volcano experiment).
In your teacher-directed lab, go over the procedure so they know what they will be doing in the lab. In a student-led lab, let students know the materials they will work with and their parameters. Once you’ve reviewed the procedures, materials, and parameters, students should be able to write a hypothesis. Give them a few minutes to write, and then have students share. For students creating their own experiment, try having each group write ONE hypothesis that they can use to create their procedure.
Procedure
Next is the fun part- following the procedures to conduct the lab! This will look a little different between a teacher-directed and a student-led lab.
In a teacher-directed led, review the procedures, their roles in their groups, and clean up.
Here is an example of how I use roles during labs. My students are in groups of 4 and each student is numbered based on their seat. Read or watch about this by clicking this link to see how I use my seating chart and group roles.
- Student 1- gathers the materials
- Student 2- begins setting up the lab
- Student 3- does the next step in the procedure
- Student 4- does the next step and they continue taking turns and working together.
You can use these roles for a student-led lab too. This ensures that everyone has a chance to participate.
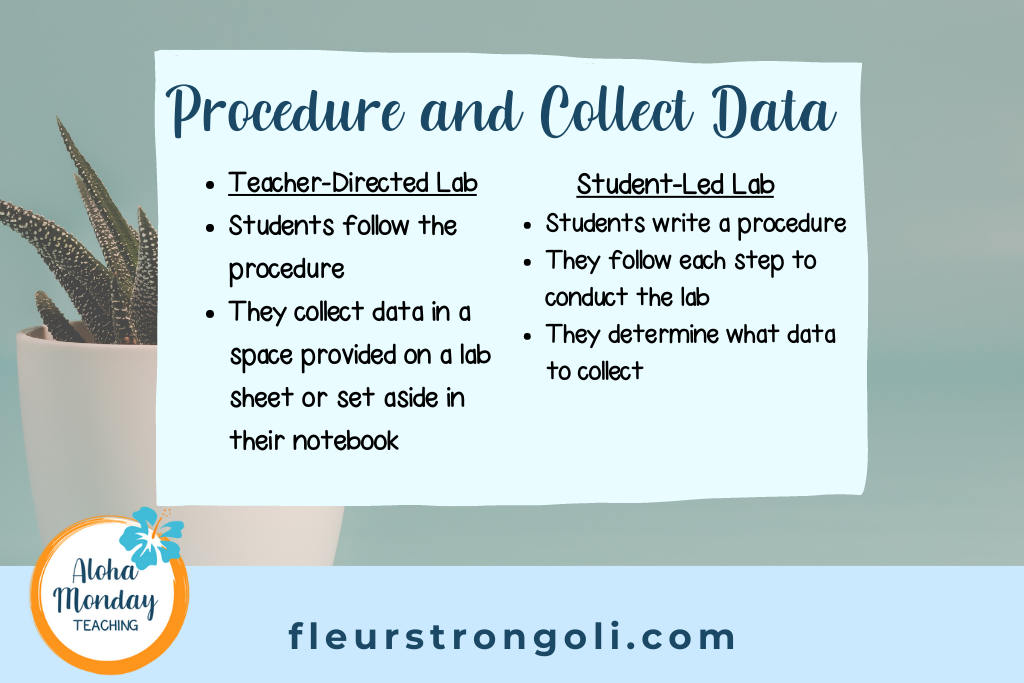
The procedure in a student-led lab is not determined yet. Using the group’s hypothesis, students should write out the steps for their lab. Then, they should follow those steps to conduct their lab.
Collecting Data
Students should be collecting data during their lab. In a teacher-directed lab should have some space on their lab sheet or created a space in their notebooks. Students conducting their own lab need to decide what data to collect and make sure they have a space for it on their paper or notebook.
Some types of data that students collect during this time are observations, changes, and measurements. They should be very detailed with it. I have my students sketch and describe their data.
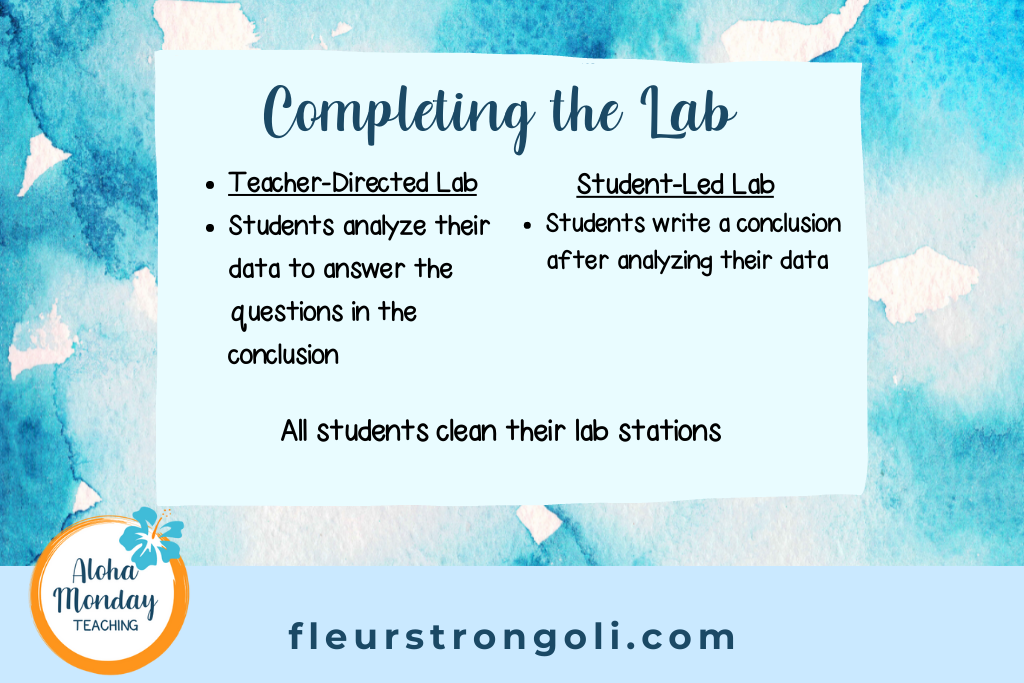
Clean up
One of the safety rules is to keep your lab area clean. This should be maintained throughout the lab. I project the clean up directions on the screen so students can refer to it when they are done. Everyone helps clean up. I usually have students leave materials at the lab station so it’s ready for the next class. If I have to replenish items, I have students bring the materials to my designated area.
Analyzing Data and Conclusion
Now that students have completed their lab and cleaned their stations, they are ready to analyze their data and write their conclusions. If you run out of time during class, this piece can be done for homework.
During a teacher-directed lab, there are usually questions that the students will answer. They use their data to answer these questions. A simple conclusion question could be, “Was your hypothesis correct? Why or why not?” I always have students write using complete sentences.
They can make graphs during their conclusion using the data they collected.
It is really important that you take a few minutes to review their conclusions as a whole group. This is to make sure that students understand how the lab connects to what they are learning. It also helps students understand what happened if their lab didn’t work out the right way.
Early Finishers
There will be times when students finish labs (or assignments) early. What will you have them do? I asked this question in a Facebook group that I’m a part of, and I love the ideas that other teachers shared!
I shared that my go-to for early finishers was vocabulary practice and word searches or crossword puzzles based on our unit.
Here are some ideas that other teachers shared: STEM baskets or a makerspace; Science free time to read fun science books that the teacher has; phenomena exploration (a smaller version of a genius hour); choice boards or menus; computer work.
Wrap Up
Now you are ready for your lab day! We went over planning your lab using your standards and adopted or supplemental resources. Preparing your lab includes your Powerpoint for students to refer to, lab sheets, grading, and materials. You can set up your lab at the lab stations for your students, or they can set it up for you. And we went over each part of the Scientific Method and what students should be doing and how you can help them.
Your Turn
What are your favorite labs to do with your students? How do you manage your labs?
Labs you Might Like
Read More
How to Establish Science Classroom Expectations for Middle School
How Do I Make Lesson Planning of Science Simple and Focused?


9 Comments