

How does an Air Pressure Experiment with Candle and Water Work?
One of the best ways to show students about air pressure is through an air pressure experiment. There are different demos and labs you can do to show your students how high pressure pushes air toward low pressure. In this air pressure experiment, students will observe the phenomena of water being pushed up into a beaker. Here’s how it works!
In this post
We will go over high and low pressure, when we’d teach it, and when to use this lab. I will share the engaging air pressure experiment that I do with my students. It helps them understand the movement of air from high to low pressure.
Before you start planning, be sure to grab your free guide! Plan Your Science Unit in LESS Time with 3 Simple Steps!

Disclosure: This post may contain some affiliate links for your convenience. As an Amazon Associate I earn from qualifying purchases with no cost to you.
When to teach air pressure
There are two concepts to air pressure. The first is air pressure decreases the higher you go in altitude. This is taught when learning about the atmosphere.
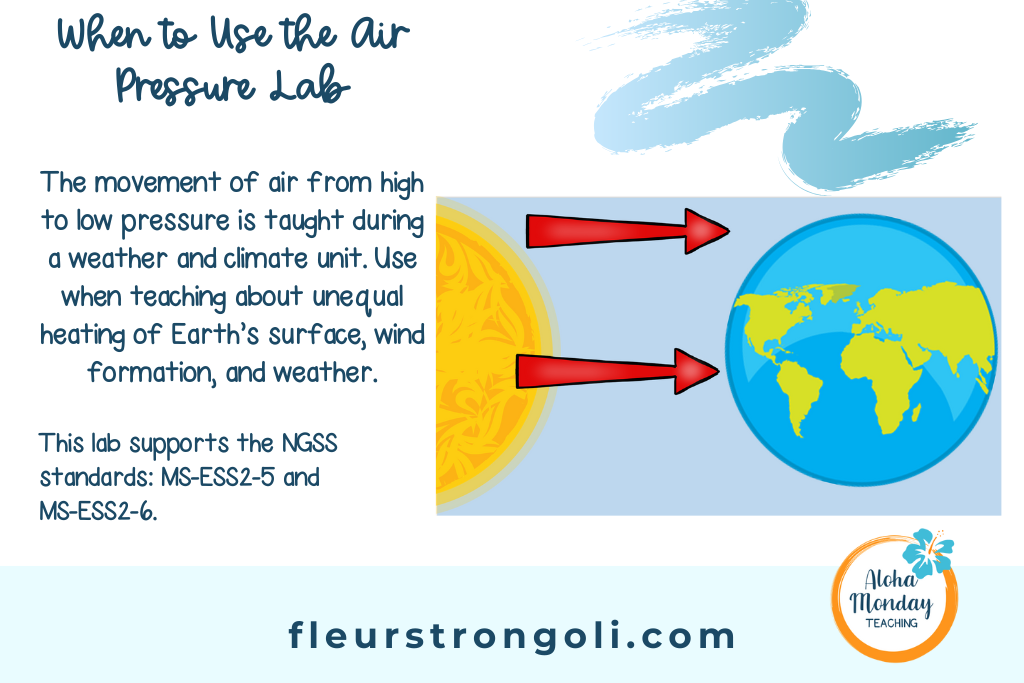
The second concept about air pressure is how differences in air pressure are created by unequal heating from the sun. This is what our air pressure experiment is based on.
This concept of high and low pressure is related to weather and climate, wind, and ocean currents. I like to teach it before wind to show students the movement of air. Then I can refer back to it throughout the rest of my weather unit and when I teach ocean currents.
This lab supports the following NGSS standards:
MS-ESS2-5 Collect data to provide evidence for how the motions and complex interactions of air masses result in changes in weather conditions. (In this standard, it would give the foundation of how the differences in air pressure contribute to moving air)
MS-ESS2-6. Develop and use a model to describe how unequal heating and rotation of the Earth cause patterns of atmospheric and oceanic circulation that determine regional climates.
Air Pressure Demo
Before doing this lab with my students, I do an air pressure demo. I love doing the egg in a bottle demo. In this demo, you need a peeled hard-boiled egg, a bottle with a wide opening or a flask, and matches. Sometimes it takes a few tries, but when it works, it’s exciting.
Light the candle and drop it into the bottle or flask. Cover the opening of the bottle with the narrow side of the egg. It will get pushed down into the bottle. I then ask the kids what they think happened.
Here’s the science behind it- when I lit the match and put it into the bottle, I created a low pressure area. The air outside of the bottle was high pressure. High moves to low, so the air was pushing down on the egg causing it to be pushed into the bottle.
I make sure the kids know this before they start the lab so they can have an idea of why the water will move up into the beaker.
So let’s talk about the air pressure experiment now.
Click here to get the air pressure lab in my TpT store. You’ll get a Power Point, lab sheet, and a lesson plan.
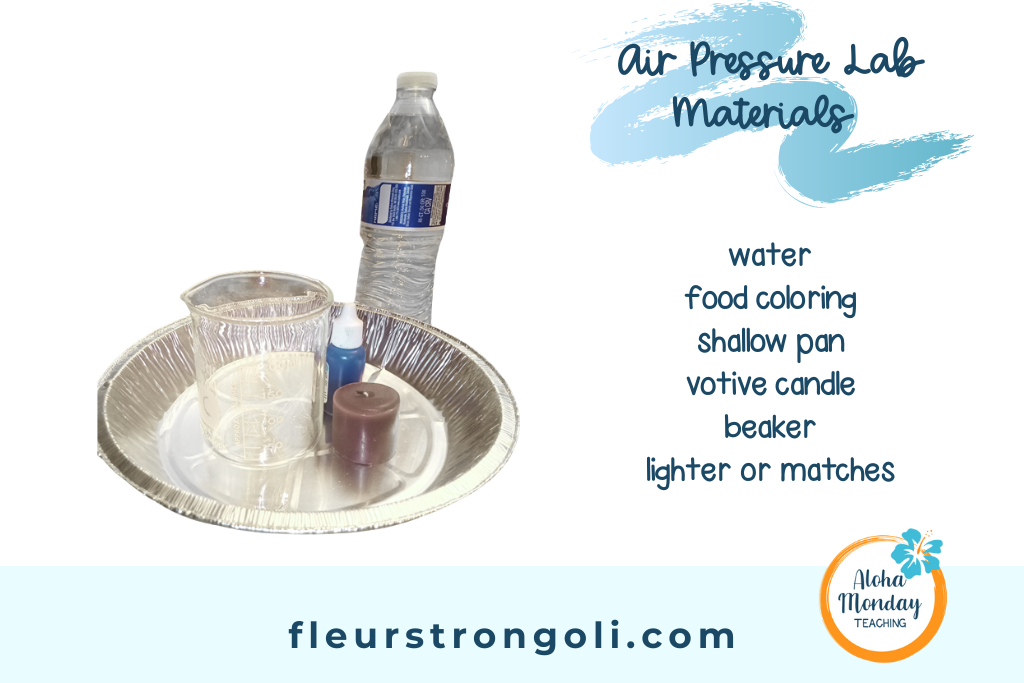
Lab Materials
The lab materials you need include water, food coloring, a shallow pan (like a foil pie pan), beaker, candle (I use votives but other candles will work), and a lighter or matches.
Lab Preparation
Place the shallow pan, beaker, and candle on a tray for students. I will either have the trays at the lab stations or my first class will bring them to the stations for me. (Tip: I usually have my first class set up and my last class brings everything back to my station for easy clean up).
Conducting the Lab with Students
I use a PowerPoint for each lab I do with students. This gives them a visual of each part of the lab along with directions for conducting the lab and cleaning up. Read more about managing labs in this blog post.
Before they go to their lab stations, I remind them to look through the glass of the beaker at eye level. If they don’t they will miss it, so I make sure to emphasize this.
Students will put water into the shallow pan. They’ll fill it about half the height of the candle. Place the candle in the center of the pan. I usually come around to add some food coloring to their pans but you can have them do that themselves.
I go around and light each of their candles. They wait about 20-30 seconds and then cover the candle with the beaker and observe from eye level.
They should see the water rise inside of the beaker.
So how does this show air pressure?
The air inside of the beaker was warm, therefore it had low pressure. The air outside of the beaker was the high pressure area. High moves to low, so the air pushed down on the water in the pan, causing it to rise inside of the beaker.
Wrapping Up the Lab
When students are finished with the lab, it’s important for them to clean up and to analyze their results or data.
For this lab, I like to ask questions such as:
Was your hypothesis correct? Explain.
How does this show an example of air pressure?
Where were the high and low pressure areas?
Wrap Up
Teaching about air pressure is fun! This lab will really help students understand how air pressure differences are caused and the movement from high to low air pressure. We went over when we would teach air pressure and how to use this lab in your classroom. You can get the Air Pressure Lab in my TpT store.
Your Turn
What are ways you teach air pressure? Is there anything new you will try? Reply and let me know!
Read More
What is a Science Lab and How Do I Manage It Effectively?
My Top 10 Science Experiments and Labs for Middle Schoolers This Year
3 Must-Dos to Run Your Science Lab Day with Science Lab Safety in Mind
What is the Must-Have List of Science Lab Equipment?


One Comment