
My Top 10 Science Experiments and Labs for Middle Schoolers This Year
I want to share some of my favorite science experiments and labs that I have done this year and the last couple of years with my 7th and 8th graders. These have been so helpful in reinforcing the concepts I was teaching my students. So let’s check it out and then let me know your favorite science experiments and labs!
In this post
I will share a variety of science experiments and labs that I have done with my middle schoolers. These are labs in all areas- life, physical, and earth sciences. I will have links for some of the resources I’ve created.
While you plan, download your free guide- Plan Your Science Unit in LESS time with 3 Simple Steps to have it handy! This will help you create a roadmap for your science units and plan engaging science lessons!

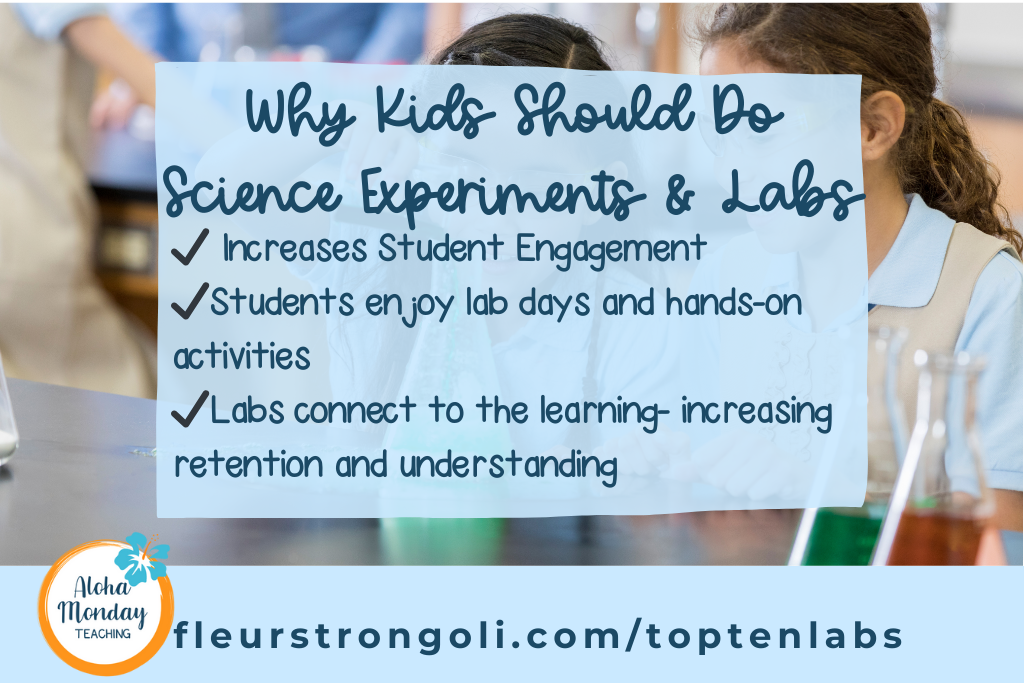
Why Science Experiments?
I don’t know about you, but I LOVE that we organically get to give our students more hands-on opportunities than any other subject area in middle school. This almost creates instant student engagement. They LOVE days when we do experiments or labs. (I use these words interchangeably but they mean the same thing to me.)
Science experiments and labs give students that hands-on approach to explaining or discovering how the world around them works. We guide them through the process, but when students complete the experiment themselves, it gives them fun with science experiments and they are better able to connect it to what you’re teaching them.
For example, rather than doing a demo of a chemical reaction like baking soda and vinegar or elephant toothpaste, it would be more meaningful and learning would stick if students did this on their own.
Now, there are some experiments that are best as demos- such as a can crushing demo for air pressure. But, most experiments can be completed by the students, and I believe it should be.
Running a lab doesn’t have to be scary or chaotic. Here are two blog posts about preparing and managing lab days.
3 Must-Dos to Run Your Science Lab Day with Science Lab Safety in Mind In this blog post, I go over the routines that need to be put in place before lab day and managing students on lab day.
What is a Science Lab and How Do I Manage it Effectively? In this blog post, I talk about preparing a lab and the lab day procedures you’ll go through with students.
Favorite Science Experiments and Labs
So here is my small list of some favorite labs I’ve done with my students.
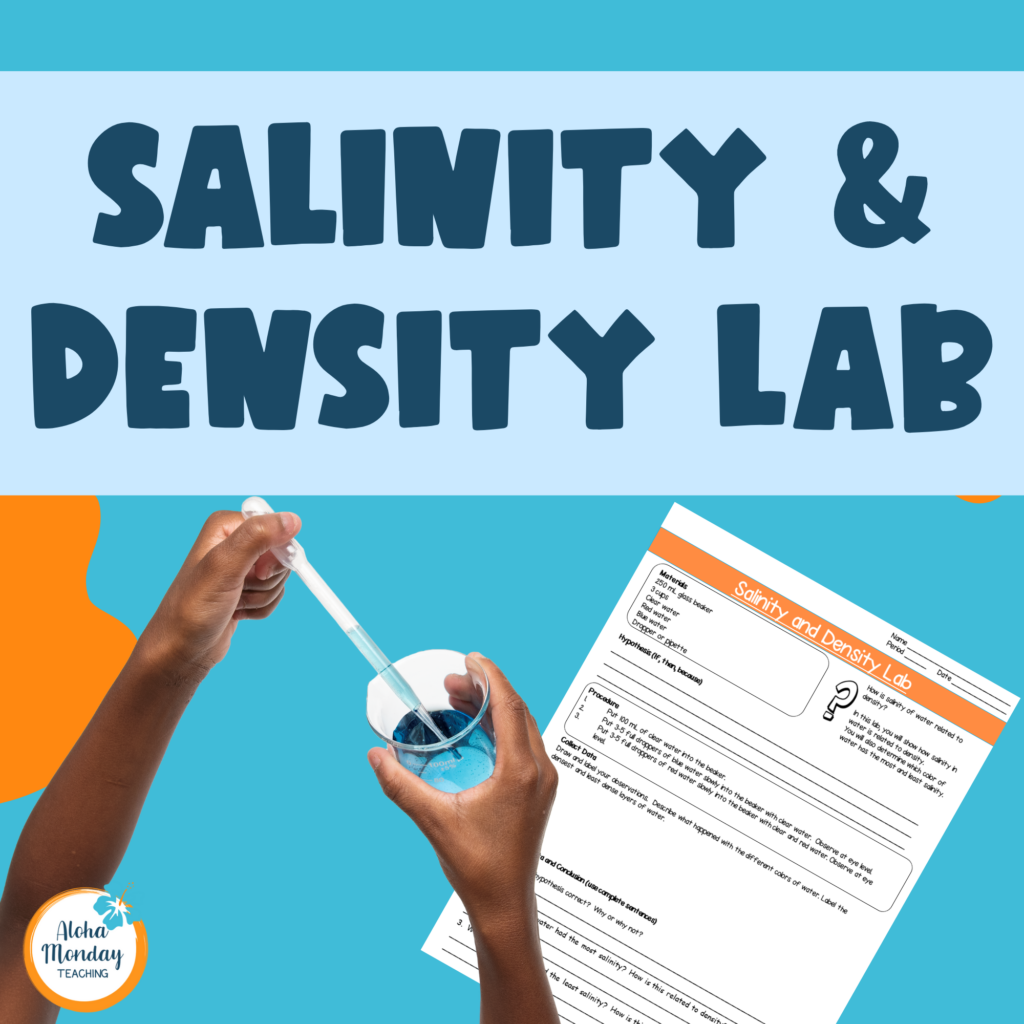
Salinity and Density Lab
This is a great lab to teach your students about the relationship between salinity and density. I use this during our ocean currents unit when I am teaching about how deep ocean currents form. You can also teach this during a properties of matter unit.
In this lab, students have three samples of water with different amounts of salinity. As they follow the procedure, they find out which has the highest salinity and lowest salinity based on its density.
You can read more or watch the video about the salinity and density lab in this post- Want a Simple Salinity and Density Experiment for Middle Schoolers?
Get the lab here in my TpT store.
Convection Currents Experiment
In Earth Science, convection currents are a big, important concept. We teach this when we talk about convection currents in the mantle, the atmosphere, and in water. We can also teach this during a heat transfer unit.
In this experiment, they use room temperature water and really hot water that has food coloring added to it. They will see how hot water rises and then you can connect it to convection currents. Hot fluids rise while cooler fluids sink- all related to temperature and density.
Read more or watch the video in this blog post- Do Your Students Need Convection Current Explained? Use This Simple and Engaging Lab!
Get the lab in my TpT store here.

Elephant toothpaste
My students LOVED doing the elephant toothpaste experiment. I did this during our chemical reactions unit in 8th grade and related it to exothermic reactions. Here are the instructions I used from Science Buddies. I used 16 oz water bottles, really really warm water, dish soap, and instant dry yeast from Walmart. Be sure to put this in the sink, in a container, or do this outside because it can get very messy!
Mystery Powder
This was a great one when we were testing properties of substances. I used this for my observation and it was great. I had two parts to this lab. In the first part, students collected data to show how certain liquids related with different powders. I used water, vinegar, and iodine. The powders were baking soda, sugar, salt, flour, cornstarch, and baking powder.
During the second part, they were given a mystery powder. They had to write a procedure and test different liquids to determine what the powder was. They wanted to do more, so I set up a different powder for them to test.
Baking soda and vinegar (volcano, snow, etc.)
This one is super simple and never gets old! Just a simple chemical reactions lab with baking soda and vinegar is enough. But if you get creative with it, it is even more fun. Not only can you do this during a chemical reactions unit, but you can also incorporate this into Earth Science and volcanoes.
We did this fun snow activity from Science Buddies as an Explore lab before we started chemical reactions. Students use water and baking soda to make snow figures. Then we poured vinegar over them.
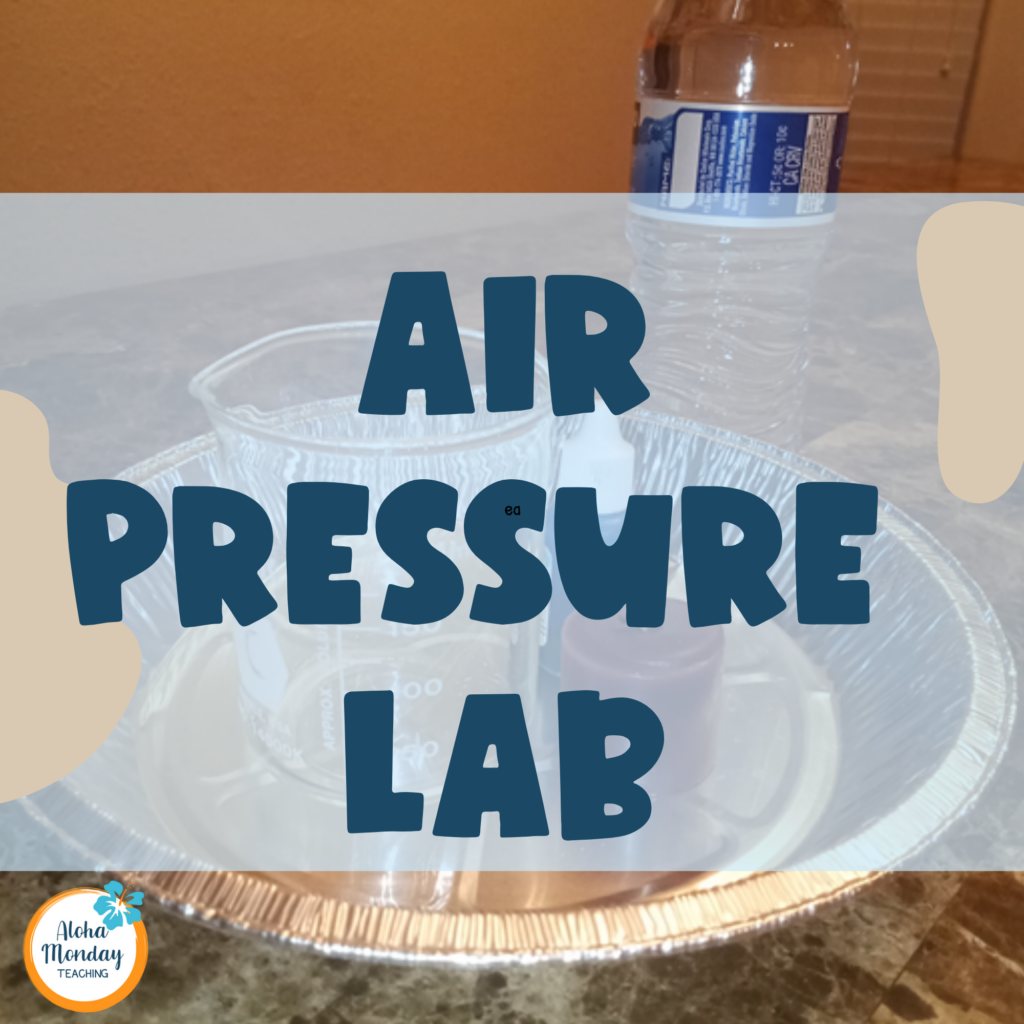
Air Pressure Lab
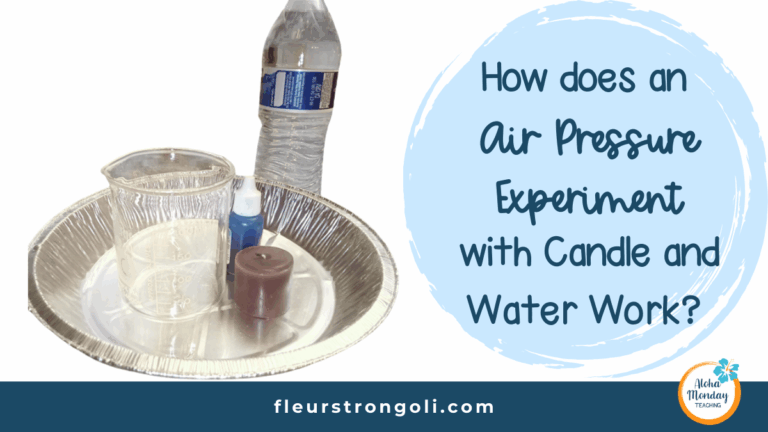
I love this lab to demonstrate air pressure when I am teaching students how wind is formed. Before I do this, I like to demonstrate egg in a bottle. That way they connect the concept of high pressure moving air towards low pressure. After the demo, they complete this lab.
They fill a shallow pan with some water and I come around to light a candle. They cover the candle with a beaker and watch it go out. Then they see the water rise in the beaker.
This helps them further understand that we created low pressure by lighting the candle and heating the air around it. That made the low pressure inside of the beaker when we covered the candle. High pressure was the air around it, which pushed down on the water (high to low) causing the water to push up into the beaker.
Here is the blog post about the lab.
Here is a YouTube video about this lab.
Get the lab in my TpT store here.
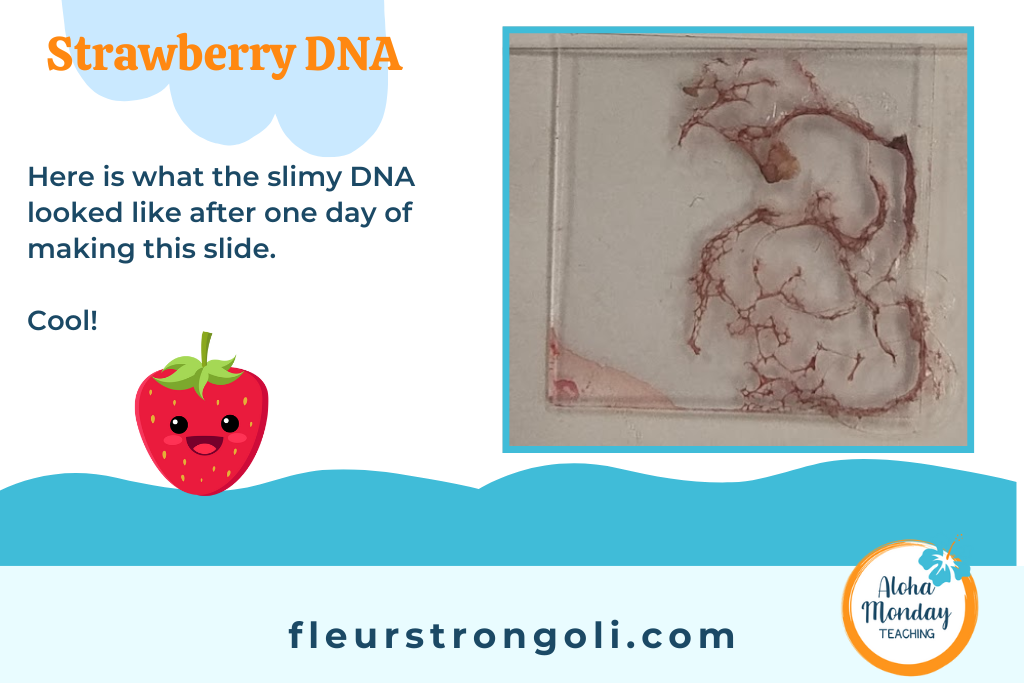
Strawberry DNA Extraction
I did this lab when students were learning about DNA and Genetics. 70% rubbing alcohol worked for us, but a lot of teachers say to use 90% or higher. I put mine in the freezer until students needed it because it needs to be very cold. I also used frozen and fresh strawberries as our independent variables. After students extracted the slimy DNA, I used one of their samples to make a slide of it so they could see it under the microscope. It was very cool!
Electric Circuits
When teaching electricity, I like to give students time to explore before they learn about circuits. Most students have never made a simple circuit before. I put out two wires, a battery, and a light bulb and I challenged them to make the light bulb shine. Then I take away a wire and add materials so they can explore conductors and insulators.
After this, I teach them about electricity. Then they have the materials available in stations as they practice with it before learning about electromagnetism.
Electromagnets
Once students have learned about circuits, I let them explore electromagnets. I give them a very long wire, a battery, a nail, and a bunch of little washers or paperclips. I challenge them to pick up the washers or paperclips with the nail by making it a magnet. Be careful that your nails are not magnetic already! I found out that some of our nails were so students were thinking they did it right when they hadn’t yet.
Then I teach them about electromagnetism. During stations or a lab, they have the materials available to pick up as many washers or paper clips that they can.
Experiments with cars
During our Forces and Motion unit, I love using cars and ramps! You can do so many different tests with these. They can do a time vs distance lab, a gravity potential energy lab, or even a Newton’s third law of motion lab with collisions. Once they collect their data, they can graph their results.
Wrap up
I shared why science experiments are important and should be done in a science classroom. I gave a summary of some of my favorite science experiments and labs that I have done with my own middle schoolers.
Your Turn
What are your favorite science experiments and labs that you do with your students? Reply and let me know!
Read More
3 Must-Dos to Run Your Science Lab Day with Science Lab Safety in Mind
What is a Science Lab and How Do I Manage it Effectively?
Air Pressure Lab – blog post
Air pressure Lab– YouTube video
Want a Simple Salinity and Density Experiment for Middle Schoolers?
Do Your Students Need Convection Current Explained? Use This Simple and Engaging Lab!