3 Must-Haves for a Successful Explain 5E Model
We’ve engaged and explored, now it’s time to Explain 5E Model. This is your time to shine and project your best teaching practices with direct instruction. So, what are the components to successfully implement the Explain step?
In This Post
Explain is the guided instruction piece of the 5E Model. We will look at what it is and how to do this effectively. We will also go over brain breaks and processing time so students can strengthen neural links.
Download 5 Daily Must-Do Routines to Run Your Classroom Like a Pro by clicking this link . This will help your days run much smoother, especially during Explain days.

Disclosure: This post contains some affiliate links for your convenience. As an Amazon Associate I earn from qualifying purchases with no cost to you.
What is 5E and Explain?
We have been exploring each part of the 5E Model. Read about Engage and having a hook in your lesson in this blog post. And you can also read about Explore, the step in which students are exploring a topic through research and investigating.
After students have been engaged and explored a topic, it is your turn to shine! Now you will impart your knowledge and teach students what they should know about the topic by direct instruction or facilitating learning. Students will continue making connections to what they have learned so far. It is important to present relevant information and build on their experiences and background knowledge to strengthen the neural connections in their brains.
Components of Explain 5E Model
The main activity happening during the Explain step is the note taking session and students explaining their understanding. It is also the time to help clear up any misconceptions.
This can be in the form of a lecture using a slide show, videos, reading from the textbook, or discussing solutions to a problem with evidence. It can also be a combination of these things. More than likely, a teacher will teach using a slide show or the curriculum resources that their district has approved.
The three parts we will go over are the note taking session, brain breaks and processing time, and checks for understanding. While these are separate parts of Explain, they are all intertwined and should be happening throughout your lesson.
Note Taking
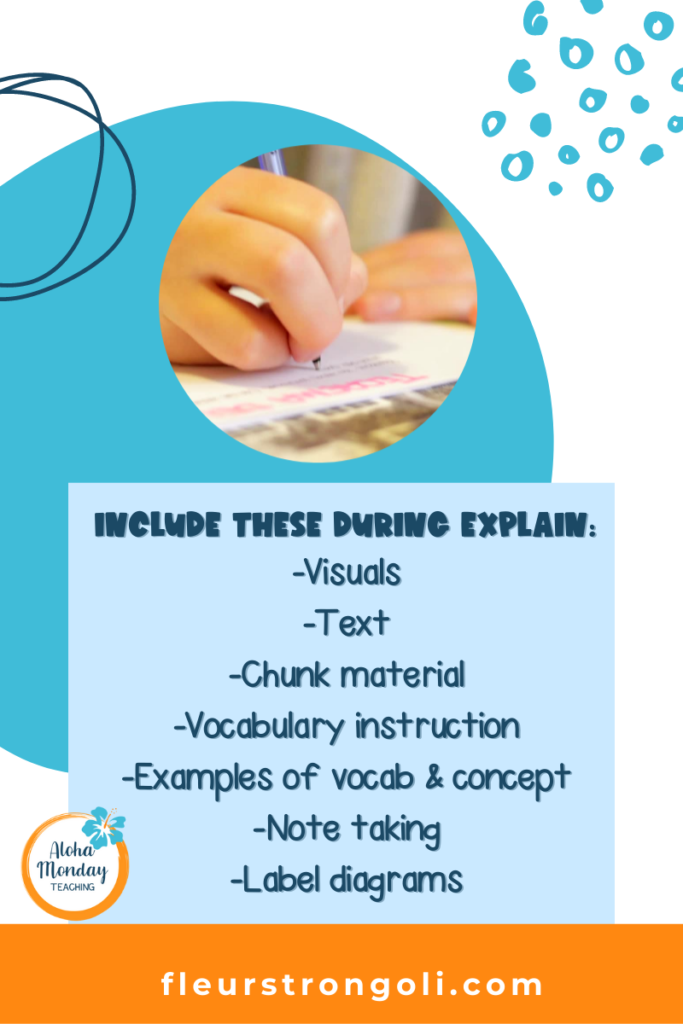
The first piece of Explain is the note taking session. When teaching students, it is important to have visuals and text. Information should be chunked into relevant pieces that build on the previous piece of information.
During Explain, you should reiterate vocabulary for your topic, provide examples for the concepts, and explain it so your students can understand and make connections. Students should be taking notes, such as in their notebooks, using closed notes, or interactive notebook pages. They can label diagrams and jot down information that you either show them or they choose to write.
There are other options during Explain to impart the knowledge you want your students to learn. Try one of these strategies to replace whole group instruction. This will allow you to facilitate and walk around the room. You can check for understanding and clear up any misconceptions.
Work in Groups
Print out copies of the slides you would use in your lesson and put them in sheet protectors in binders or folders. Or put them on the wall. Students will rotate around the room to read, complete tasks, and take notes.
Individual/Partner Work
Similar to group work, give students a guide that includes questions, tasks, and locations to where they can find the information. They can work alone or with a partner to find the information.
Explain can take 1-2 class periods to complete. I like to break up our Explain days into two parts. One for note taking and the other for either hands-on or practice. I believe that kids should not have to sit still for an entire hour. But if they do take notes the whole period, I make sure they are having brain breaks. You can read more about managing time during note taking in this blog post.
Brain Breaks and Processing Time
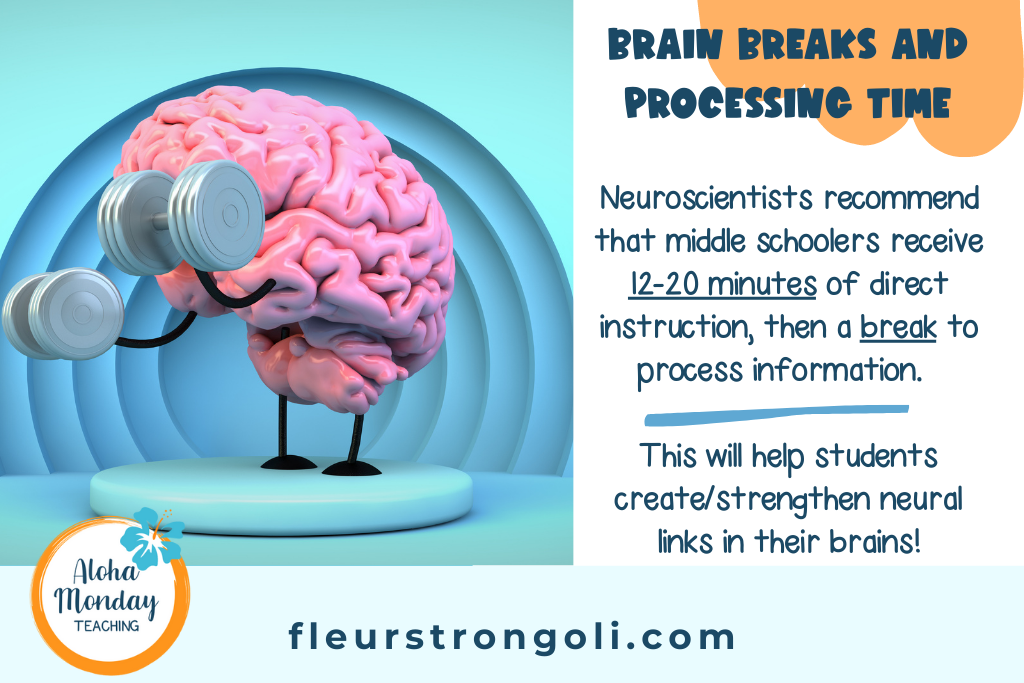
The second piece of Explain is to provide brain breaks and processing time. It is imperative to provide brain breaks and processing time during your instruction. Brain breaks with movement give students a chance to get out of their seats. Movement also helps the brain learn better. I prefer to use brain breaks that are related to content. You can read about brain breaks in this blog post.
Processing time is something else that needs to be given to students during your instruction. It is suggested that middle schoolers receive about 12-20 minutes of instruction and then have time to process the information. This can be done by sketching, writing, or talking to a partner. This is the way the brain can sort out this new information and make proper links.
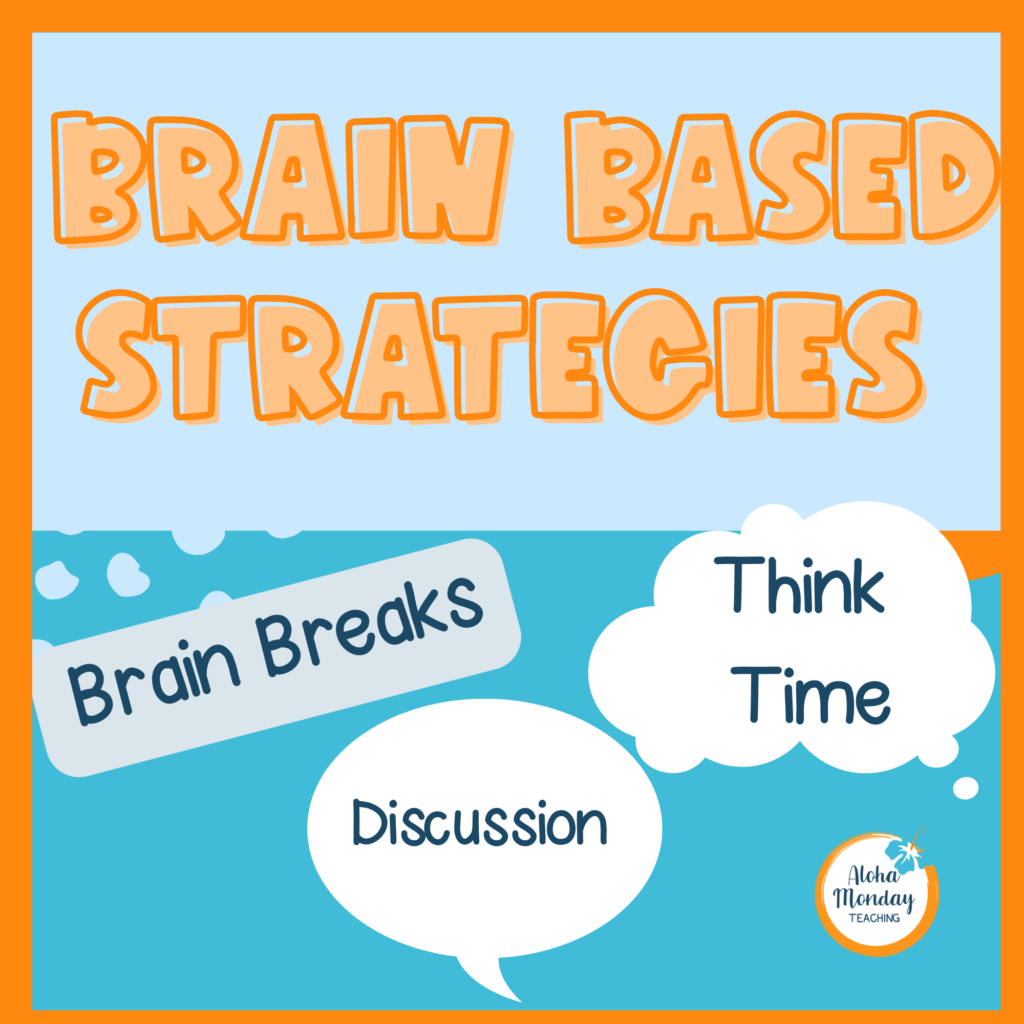
To intentionally provide brain breaks and processing time, I’ve created Brain Based Strategies PPT. This has helped me in my classroom.
Check for understanding
The third piece to Explain is to check for understanding. As you are teaching, you want to know that your students are understanding the topic. Here are some quick ideas you can do to check for understanding.
- “Thumbs up, thumbs to the side, or thumbs down” when you ask a question to find out if they understand a concept.
- You can have students discuss during processing time, and then share with the class.
- You can include slides in your presentation that are interactive or require a response from the class. For example, you can post a question with choices of possible answers and have students respond by standing up, thumbs up, or writing on a white board.

Wrap Up
In this blog post, we discussed what Explain is in the 5E Model and how to make it engaging for students and their brains. We looked at the teacher directed lesson and what it should include. We talked about the importance of brain breaks and processing time. And I shared some quick ways to check for understanding.
Links Mentioned
What are Quick and Easy Lesson Plan Hook Ideas for Science?
5E Explore 4 Types of Fun Activities and Science Experiments for Middle Schoolers
3 Important Steps to Engage Students in Lessons
Your Turn
What will you add to your next lesson to ensure that students are processing the information and understanding the concept?


5 Comments